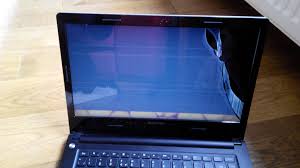
Aside from the motherboard, the Screen is the second most important part of the computer system, especially the laptop PC. However, I have seen situations where someone uses the other half of a laptop PC with a separate monitor. Literally without a screen, the PC is not dead if the motherboard is still functioning. However, you don’t need to consider that, the screen is hardware, which makes it replaceable. Computer PC screens rarely get broken unlike mobile phones, and when it happens, it’s mostly due to negligence.
Related: How much does it cost to repair a laptop screen?
I would assume this already happened so I won’t dive into it. Of course, there are situations like backlight errors, screen flickering, and screen glitching that are not due to negligence. Overall, their endpoints are mostly replacements of the screen. So, do you fix a broken screen by “fixing” or “replacements?” Whichever way, let’s find out how to fix a broken screen in 2024.
1. Get Basic Safety and Repair Tools
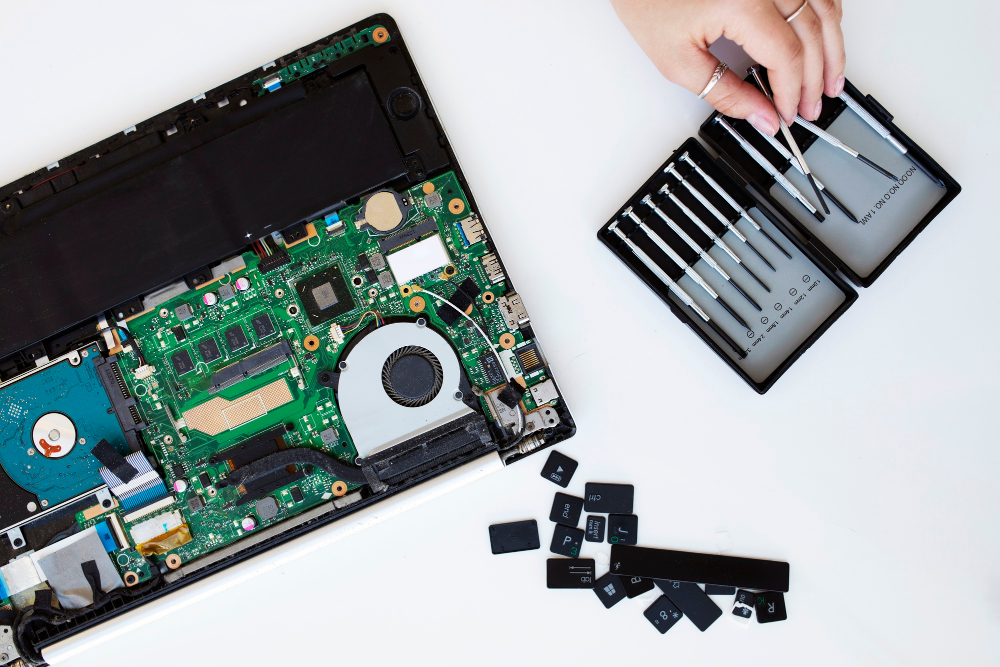
Make sure you have all the tools you need before starting the repair. For little screws, a small magnetic-head Phillips screwdriver is helpful. To carefully take apart components without injuring them, plastic opening tools—a thin, flat instrument akin to a guitar pick—are necessary. Acquire an anti-static wristband to shield your laptop from static electricity damage while the screen is being repaired, as well as a replacement screen that fits your model.
See: Basic Tools for Laptop Screen Repair
2. Remove the bezel.
The plastic bezel that encircles the screen should be removed first. This step requires patience and precision. Carefully wedge the plastic opening tools between the screen and the bezel to release the bolts holding it in place. Proceed around the screen, taking care not to break or harm the bezel. The goal is to carefully remove it without inflicting any additional harm.
Related: Why does my screen keep going black?

3. Disconnect the attached cables.
After removing the bezel, find the connections connected to the damaged screen and unplug them. Check the connections and record them for future reassembly. Additional cords for touchscreen functionality may be present, and the video connections are typically visible. To prevent inadvertent harm, carefully disconnect these cables to ensure a smooth and methodical process.
4. Remove the Damaged Screen
With the cables cut off, you may now remove the damaged screen. Check the edges for any screws holding the laptop’s screen in place. Carefully remove these screws with the Phillips screwdriver, then put them away in a safe location for later use. Remove the damaged screen from the laptop with care after the screws have been removed. Take care with any adhesive that is still there because using too much effort could damage the frame.
5. Remove the Frame
Make sure the frame is completely clean after removing the damaged screen. Use a soft cloth or a microfiber cloth free of lint to remove any dust or adhesive residue. To guarantee correct adhesion and lessen the possibility of any anomalies, assemble the replacement screen on a clean surface. Your laptop will appear like new after cleaning the frame, which also contributes to the professional appearance of your repair.
6. Fix the New Screen
The first step in fixing a broken computer screen is to purchase a replacement screen that is compatible with your computer’s make and model. Many online retailers sell replacement screens, such as Amazon, Newegg, and eBay, so do some research to find the best deal. Once you have purchased the replacement screen, follow these steps to install it:
- Shut down your computer and unplug the power cord.
- Open your computer’s case and locate the broken screen.
- Carefully remove the broken screen from the computer’s frame, taking note of any cables or connectors that need to be disconnected.
- Remove any protective film from the new screen and align it with the computer’s frame.
- Secure the new screen to the frame using screws or clips.
7. Reconnect the Cables
Once the new screen is installed, the next step is to reconnect the cables that were disconnected earlier. These cables include the power cable, the video cable, and any other cables that were connected to the broken screen. Make sure to connect the cables securely to the new screen and the computer’s motherboard.

8. Put back the Bezels
If your computer’s screen had a bezel, or frame, around the edges, you will need to reattach it to the new screen. The bezel is usually held in place with screws or clips, so remove any protective film and attach the bezel to the new screen.
9. Calibrate If Screen Touch
If your computer’s screen has a touchscreen function, you will need to calibrate the screen after installing the new one. To do this, follow these steps:
- Open the Start menu and search for “Calibrate Screen.”
- Click on the “Calibrate Screen” option and follow the on-screen instructions to calibrate the touchscreen.
10. Test and Troubleshoot
Once you have installed the new screen and reconnected the cables, it’s time to test the screen to make sure it is working properly. To do this, follow these steps:
- Plug in the power cord and turn on your computer.
- Check the screen to make sure it is displayin
Are PC Screen Repairable in 2024?
With developments in technology and the availability of replacement parts, PC displays are easily repairable. DIY repair kits, which include tools and extensive directions, enable users to remedy common screen faults such as cracks or dead pixels. Professional repair services and specialists are readily available for people who are less willing to do it themselves.
In many circumstances, replacing a damaged screen with a new one is a simple task needing little expertise. The repairability of PC screens in 2024 reflects the user-friendly design and accessibility of components, ensuring that a damaged screen does not mean the end of a device’s lifespan.
Does Every PC Screen Problem Require Replacements?
Not all issues with computer screens require replacements. Smaller problems like color issues screen flickering, or insufficient lighting are usually fixed with configuration tweaks and debugging. Reconnecting loose cables, altering display settings, or updating graphics drivers are a few ways to resolve such problems.
Related: How to fix screen flickering on Hp laptops
On the other hand, major issues like hardware damage, a high number of dead pixels, or cracked screens might necessitate a replacement. Assess the issue’s nature, attempt troubleshooting techniques, and, if necessary, seek expert assistance. When there is irreversible damage, replacement becomes the preferred course of action, providing excellent display quality and overall system performance.
See Also: How to fix screen glitching in laptops
Conclusions
In conclusion, dealing with a broken computer screen in 2024 entails a meticulous repair or, if necessary, a replacement. It is critical to have the necessary tools and to take caution when removing and replacing components. Whether doing it yourself or hiring a professional, the repairability of PC screens demonstrates user-friendly design and accessible components. While small difficulties may be fixed by troubleshooting, severe ones such as hardware damage may demand replacements. With developments in technology and repair kits, PC displays are still repairable, increasing gadget lifespan. In essence, users have a variety of options for resolving screen-related issues depending on their nature and severity.

