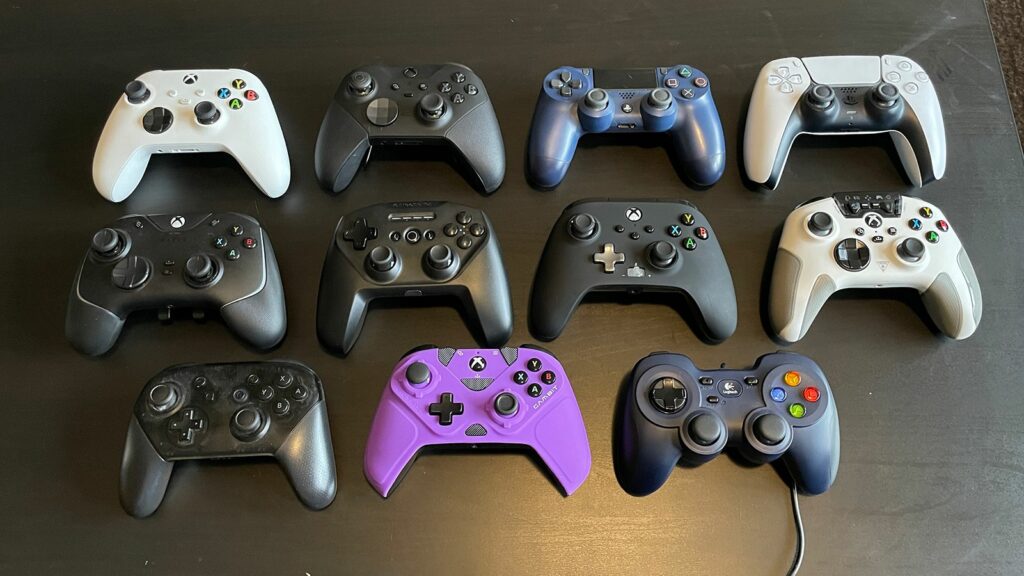
When gaming on a laptop PC, most novice uses the laptop keyboard for light gaming. For mid-range and high-end gaming, however, this will require a controller. These controllers could be either wired or wireless, but hey, this is 2024, so who wants a cluster of wires? Gaming controllers are much easier and more enjoyable, and even wireless are better. This gaming controller, often known as a gamepad, is an input device for controlling video games. A portable device containing buttons, joysticks, and other controls that let players interact with the game as usual. Gaming controllers are compatible with a wide range of gaming systems, including consoles, PCs, and mobile devices.
See Also: Best 17-inch Gaming Laptops for 2024
Connecting a game controller to a laptop usually entails connecting the two devices via a wireless or cable connection. Let’s review the specific methods for connecting your game controller to your PC.
1. Check for Controller to PC Compatibility
Before connecting the controller to your PC, make sure it is compatible with your operating system. To determine whether your game controller is compatible with Windows or another operating system, see the manual or the manufacturer’s website. After examining the controller information, you will be aware of the system requirements. Check to see if your computer can handle the specs given for your gaming controller.
2. Connection Via Wire
A cable connection is the most straightforward method of connecting your wired gaming controller to your computer. Most gaming controllers come with a USB cable. A thorough instruction is available here:
USB Connectivity: Insert the USB wire into both the controller and a free USB port on your computer to connect your gaming controller to your computer.
Install Drivers if necessary: In rare cases, your computer may identify the gaming controller and install the necessary drivers without your assistance. However, you may need to go to the manufacturer’s website to acquire the drivers that your controller requires.
Check the controller’s settings: After you’ve connected, navigate to the “Devices” or “Bluetooth and other devices” section of your computer’s settings. You should be able to see your gamepad in the list of connected devices. Ascertain that it is recognized and proved to be related.
Adjust Your Controller (Optional): You may customize your controller to improve your gaming experience. You may change the settings for your controller’s buttons and joysticks to ensure you’re getting the right input when playing.
3. Connect Gaming Controller Via Bluetooth
Connecting your gaming controller to your PC via Bluetooth is a terrific option for those who want a cordless setup. This is how it is possible:
Check whether it is Bluetooth compatible: Check that your gaming controller can connect to Bluetooth. Check the handbook or the manufacturer’s website to see if your controller has this functionality.

Turn on Bluetooth on your computer: Activate Bluetooth on your PC. You may do this by going to the Bluetooth section of the settings. Enable Bluetooth and ensure that your PC is set to discoverable mode.
Set the Controller to the Pairing Mode: The guidebook contains instructions for entering pairing mode on your gaming controller. The conventional way is to hold down a specified button until the controller light begins to blink.
Connecting the Devices: Locate any Bluetooth devices linked to your PC. Your gaming controller should be on the list. Following that, you may complete pairing devices. After the connection, you should be able to use your controller wirelessly.
4. Connect the USB Adapter to the Gaming Controller
Several gaming controllers employ specialized USB adapters to enable wireless connectivity. This method ensures a stable and low-latency connection. The instructions below will teach you how to connect your gamepad using a USB adaptor:
Connect the USB Adapter: Plug the USB adapter into a free USB port on your computer. Before utilizing any adapters, double-check the manufacturer’s instructions, since some may require additional drivers.
Turn On Your Controller: If required, turn on your gamepad and choose pairing mode. In most situations, this entails repeatedly pushing a particular button until the adapter and controller connect.
Driver installation (if necessary): As with a wired connection, your computer may automatically install the gaming controller’s drivers. In this scenario, you can download and install the drivers from the manufacturer’s website.
Check the controller’s settings: Check the settings on your computer to ensure that your gamepad is shown as a connected device. Check that it has been correctly detected and configured.
Troubleshooting Connection Issues
If you’re experiencing trouble connecting your game controller to your computer, try the following:
- Check that the controller and your computer are securely linked via the USB cable.
- Check to see if your gaming controller is running the latest recent drivers.
- If the problem persists, try rebooting both your computer and the game controller.
- If the controller does not operate with a wired connection, plug it into another USB port on your computer.
- Turn off any other Bluetooth devices in your device’s area to guarantee a safe Bluetooth connection.
Take Away
Connecting your controller to a PC is a simple operation that will improve the ease and enjoyment of your gaming experience. The key is compatibility and adherence to manufacturer specifications through a cable USB connection, smooth Bluetooth pairing, or a specialized USB adaptor. Future improvements in technology promise even more simplified techniques. So, for a simple gaming setup, select your favorite connection method, adjust your controller if necessary, and immerse yourself in a world of immersive games on your PC. Gaming in 2024 is all about variety, adaptability, and continuous fun.

