
In the fast-paced world of technology, staying up to date with the latest advancements is essential to unlocking your computer’s full potential. Whether you’re seeking to tackle more complex projects, achieve higher FPS in games, render videos faster, or enhance your overall efficiency, upgrading your computer lets you meet and achieve your ideal performance milestones. And the best part is that you don’t necessarily have to invest in an entirely new PC. You can experience significant improvements without breaking the bank by focusing on individual part upgrades.
This comprehensive guide will equip you with the knowledge and insights needed to navigate the world of computer upgrades confidently.
What are the Signs Your Computer Needs an Upgrade?
Signs that indicate your computer needs an upgrade include sluggish performance, slow loading times, frequent crashes, and freezing. Outdated hardware and software compatibility issues, along with insufficient storage space and the inability to run new applications or software, can also arise.
Another indication is poor gaming performance, such as lag and low frame rates. These signs suggest that certain components, such as the CPU, RAM, graphics card, or storage drive, may need upgrading.
While these signs are not definitive proof of the need for an upgrade, they serve as valuable indicators that should prompt you to consider the possibility.
How do I Know the Components of My Computer that Require Upgrade?
We’ll discuss the most straightforward ways to go about this.
Benchmarking
You can determine which components require upgrading by stress-testing or benchmarking your computer. During benchmarking, your computer performs operations that imitate specific workloads, resulting in a performance score. This score allows you to compare the performance of your system to other systems or components you may be considering for purchase.
Benchmarking provides a clear picture of your system’s current performance and helps you understand the potential performance increase with different upgrade options. You need to perform a series of tests to conduct an effective benchmark. For instance, if your work involves rendering tasks, you can use benchmarks like Cinebench R23 or VRAY-Bench, which are based on real-world software like Cinema 4D and V-Ray Render Engine.
For gaming-related tasks, check if your favorite game includes an in-built benchmark that allows you to test your system’s performance (many games have this feature). If not, you can use a general gaming benchmarking tool like 3DMark.
Using the Task Manager
Another way to assess your system’s capabilities is by using your computer’s task manager tool to test the applications you use daily directly.
Here’s how you can do it:
- Open the programs you regularly use and load your projects.
- Spend some time working on your projects.
- Launch the task manager on your computer.
- Check the Performance tab in the task manager.
- The Performance tab provides information about the current and historical usage of your RAM, CPU, GPU, and VRAM (GPU Memory).
- The most utilized component is the one you should focus on for potential upgrades.
Remember to watch the task manager, especially while actively working, as some software might not trigger utilization spikes when idle. This method helps you identify practical performance bottlenecks and determine which component might benefit from an upgrade.
Related: Basic tools for computer repair
How do I Assess My Computer’s Compatibility for an Upgrade?
Let’s briefly summarize the critical compatibility considerations to help you avoid common pitfalls when upgrading individual components.
CPU upgrade(s)
- Check CPU socket compatibility with your motherboard.
- Verify cooler compatibility for proper cooling of the new CPU.
- Ensure chipset compatibility by referring to the motherboard’s Qualified Vendor List (QVL).
GPU upgrade(s)
- Check GPU dimensions to ensure it fits in your case.
- Verify that your power supply unit (PSU) has enough wattage to support the new GPU.
- Check if your PSU provides the required power cables for the GPU.
- Confirm the PCIe bandwidth and PCIe slot generation of your motherboard.
- Ensure compatibility between the GPU’s monitor connectors and your monitor’s cables (e.g., HDMI, VGA, DisplayPort)
Storage upgrade(s)
- Check if the motherboard has an M.2 slot that supports NVMe SSDs.
- Determine if your CPU case has enough space to accommodate additional storage devices.
RAM(memory) upgrade(s)
- Check the motherboard and CPU’s supported memory types by referring to the Qualified Vendor List (QVL).
- Determine the number of available RAM slots and how many are currently free for upgrades.
- Ensure the RAM modules fit beneath the CPU cooler without any clearance issues.
- If adding to existing RAM, purchase the same kind to ensure compatibility.
These are the most important things to consider depending on your upgrade needs.
Related: How to Fix Wireless Adapters On Laptops
How to Upgrade Your Computer (By Parts)
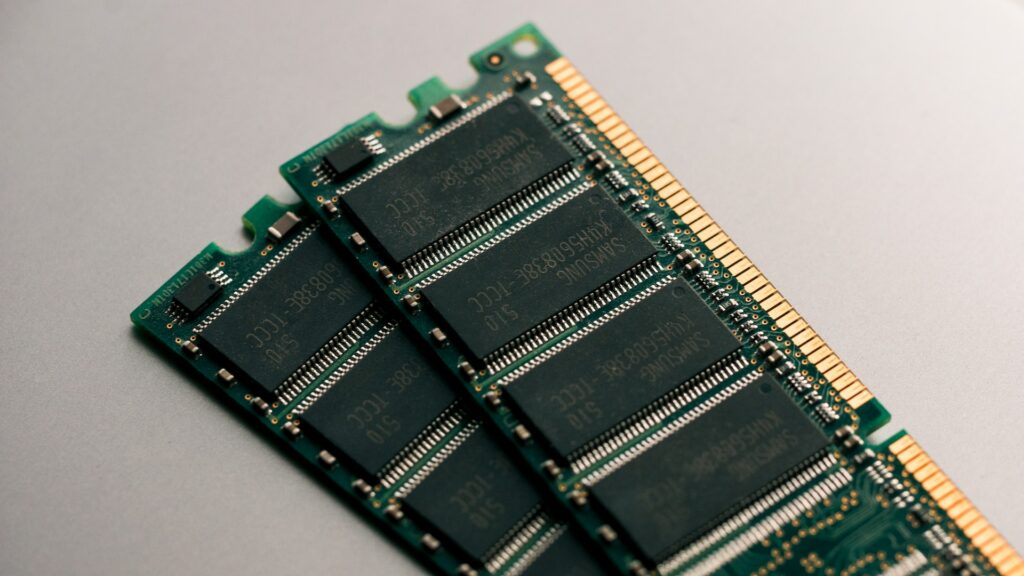
RAM(Memory)
With increased RAM capacity or speed, your computer can process information more efficiently and perform tasks smoothly. Think of the RAM as your computer’s short-term memory that it constantly accesses during operation.
Here’s a simplified breakdown of how much RAM you typically need for different tasks:
- 8GB – Suitable for casual gaming and simple video editing projects up to 2K resolution.
- 16GB – Ideal for high-end gaming with high settings and editing 2K video projects.
- 32GB – Recommended for playing triple-A games on ultra settings with mods and editing 4K video projects.
- 64GB – Necessary for demanding tasks like editing 4K video, running virtual machines, complex rendering, and handling multiple rendering jobs simultaneously.
- 128GB – Reserved for intensive tasks such as scientific modeling, data mining, running machine learning computations, working with virtual machines, complex rendering, and compositing with heavy footage.
If you’re looking for a better value on a budget, investing in memory modules with higher clock speeds and lower latency is more beneficial. For example, choosing 3600MHz CL16 memory modules over 3200MHz CL18 modules can improve performance.
Here are the steps to successfully install new RAM modules:
Step#1: Prepare your workspace
- Shut down your computer and unplug it from the power source.
- Find a clean, static-free workspace with sufficient lighting to work comfortably.
- Ground yourself by touching a metal object or using an anti-static wrist strap to prevent static electricity damage to the RAM modules or other components.
Step#2: Open the computer case
- Remove the side panel by unscrewing or sliding it off, depending on your computer’s design.
- Take note of any screws or clips holding the case and carefully remove them, if necessary.
Step#3: Locate the RAM slots
Locate the existing RAM modules on the motherboard. They are typically long, thin rectangular modules inserted vertically into the slots.
Step#4: Release the clips
On each side of the RAM slot, small plastic clips hold the RAM modules in place. Gently push these clips outward until the RAM module pops up at a slight angle.
Step#5: Remove the existing RAM module (if applicable)
If you are replacing an existing RAM module, hold it by the edges and carefully pull it out of the slot at the same angle it popped up.
Step#6: Insert the new RAM module
- Take the new RAM module and align it with the slot, ensuring that the notch on the module matches the gap.
- Hold the module by the edges and insert it into the slot at an angle, with the gold pins facing downward.
- Apply gentle and even pressure on both ends of the module until it clicks into place. The clips should automatically snap back into the locked position.
Step#7: Repeat the process for additional modules (if applicable)
If you have multiple RAM slots and are installing additional modules, repeat steps 4 to 6 for each module.
Step#8: Close the computer case
- Double-check that all RAM modules are securely seated in their slots.
- Replace the side panel of the computer case and reattach any screws or clips that hold it in place.
Step#9: Power up and verify the installation
- Reconnect the power cable and any other peripherals you had disconnected.
- Power on your computer and wait for it to boot up.
- Once the computer has started, check the system information or use software utilities to confirm that the new RAM modules are detected and functioning correctly.
Storage
Upgrading to a SATA or NVMe SSD can make your computer perform tasks faster than a traditional HDD. If you frequently work with large project files, consider getting an NVMe SSD, as it is better suited for resource-intensive tasks like rendering and video editing. Although they are more expensive, they offer significant benefits. SATA SSDs are great for storing your operating system (OS) and applications, while cost-effective HDDs are best for storing and backing up data you don’t use often.
Here’s a simplified comparison of the maximum sequential write and read speeds for each storage device:
- HDD: Up to 180 MB/s
- SATA SSD: Up to 550 MB/s
- PCIe NVMe SSD: Typically around 3500 MB/s, but can go up to 7000 MB/s.
To upgrade or replace your storage drive, follow these steps:
Step#1: Backup your data
Before upgrading, ensure you have backed up all essential data from your existing storage drive to prevent data loss.
Step#2: Shut down, unplug, and unscrew
After backing up your data, the next step will be to shut down, unplug and open up your computer casing, as illustrated earlier.
Step#3: Disconnect and remove the existing storage drive
- Locate the cables connecting the existing drive to the motherboard or drive bay.
- Carefully disconnect the cables, ensuring not to apply excessive force or bend them.
- Remove any screws or brackets holding the drive in place and slide it out of the drive bay.
Step#4: Align the new drive with the drive bay or slot
Use screws or brackets to secure the new drive in place.
Step#5: Connect the cables
- Attach the necessary cables to the new storage drive, ensuring a secure connection.
- Specifically, connect the data cable (SATA or NVMe) and power cable to the appropriate ports on the drive and motherboard.
Step#6: Close the computer case
Reattach the side panel and secure it with screws or clips.
Step#7: Power up and configure the new storage drive
- Reconnect the power cable and any other peripherals you had disconnected.
- Power your computer and access the BIOS or UEFI settings by pressing the designated key during startup (e.g., Del, F2, Esc).
- In the BIOS or UEFI settings, ensure that the new storage drive is recognized and set it as the primary boot device if desired.
- Save the changes and exit the BIOS or UEFI settings.
Step#8: Install the operating system and restore your data
- If you replaced the primary storage drive, install your operating system using a bootable installation media.
- If you upgraded a secondary storage drive, you can restore your data from the backup or transfer it manually to the new drive.
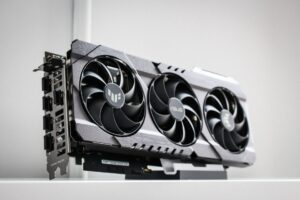
GPU/Graphics
The graphics card (GPU) displays everything you see on your monitor. A powerful GPU is optional if you mainly use your computer for browsing the web, watching videos, or simple word processing. However, having a powerful graphics card will greatly benefit you if you are a gamer, video editor, 3D artist, or graphic designer. In that case, we recommend allocating a significant portion of your budget toward upgrading your GPU.
VRAM, which is the GPU’s memory, plays a crucial role. More VRAM allows your graphics card to handle more tasks and workloads efficiently. You can use a benchmark list to compare different GPUs and see their performance. When comparing GPUs, the naming scheme can also be helpful. Generally, higher numbers in the name of a brand’s GPUs indicate higher performance.

Here’s how to upgrade your system GPU:
Step#1: Locate the existing graphics card
- Open your computer case by removing the side panel.
- Locate the current graphics card. It will be inserted into the appropriate expansion slot on the motherboard.
You can refer to your computer manufacturer’s manual for more clarity.
Step#2: Uninstall the existing graphics card (if applicable)
- If you have a previous graphics card installed, uninstall its drivers before physically removing it.
- Open the device manager in your operating system, find the current graphics card under “Display Adapters,” right-click on it, and select “Uninstall device.”
Follow the on-screen prompts to complete the uninstallation process.
Step#3: Disconnect and remove the existing graphics card
- Carefully disconnect any power connectors, such as PCIe power cables, from the graphics card.
- Release the retention mechanism on the PCIe slot, typically a small plastic clip or latch.
- Gently grip the graphics card by its edges and pull it straight out of the PCIe slot.
Step#4: Prepare the PCIe slot for the new graphics card
- Remove any protective covers or plates from the PCIe slot where the new graphics card will be inserted.
- Refer to your motherboard’s manual to ensure you use the appropriate PCIe slot for your new graphics card.
Step#5: Insert the new graphics card
- Align the new graphics card with the PCIe slot, ensuring that the gold contacts on the card line up with the contacts in the slot.
- Firmly and evenly press the graphics card into the slot until it is fully seated.
- Secure the graphics card by fastening the retention mechanism, such as the plastic clip or latch.
Step#6: Connect power to the new graphics card
- If your new graphics card requires additional power, locate the appropriate PCIe power connectors on your power supply.
- Connect the necessary power cables from the power supply to the graphics card, ensuring a secure connection.
Double-check all connections and then close the computer case.
Step#7: Power up and install drivers
- Plug in your computer and turn it on.
- Install the latest drivers for your new graphics card. Visit the manufacturer’s website and download the appropriate drivers for your operating system.
- Follow the installation instructions provided by the manufacturer to install the graphics card drivers.
Once the drivers are installed, restart your computer to complete the process.
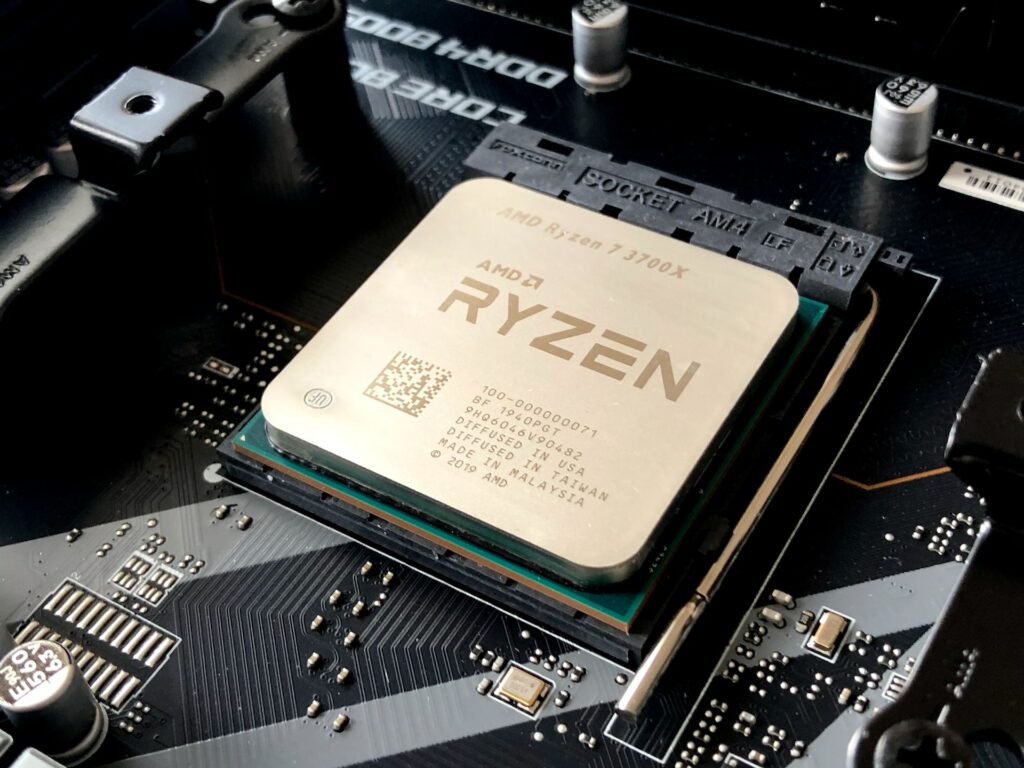
CPU or Processor
Your CPU is responsible for performing calculations and tasks on your computer, and its speed and number of cores determine how quickly it can do so. The clock speed of a CPU refers to how quickly it can process tasks, while the number of cores determines how many tasks it can handle simultaneously. Ideally, you would want a CPU with a high clock speed and multiple cores for optimal performance.
Here’s how to go about replacing and upgrading your system CPU:
Step#1: Locate the CPU socket
Locate the existing CPU and its socket on the motherboard. The CPU is a square-shaped chip with multiple pins, and the socket is the corresponding slot on the motherboard.
Step#2: Release the CPU cooler
- If your CPU has a cooler attached, locate the retention mechanism, which may be screws or clips holding it in place.
- Gently release the retention mechanism to loosen the CPU cooler and carefully lift it off the CPU. If there is a thermal paste, be cautious not to smudge it.
Step#3: Unlock and remove the existing CPU
- Identify the CPU socket’s locking mechanism, usually a lever or latch.
- Carefully lift or unlatch the mechanism to release the CPU from the socket.
- Hold the CPU by its edges and lift it straight out of the socket, avoiding any excessive force or bending of the pins.
Step#4: Install the new CPU
- Align the new CPU with the socket, ensuring that the notches and alignment markers on the CPU and socket correspond.
- Gently lower the CPU into the socket, not bending any pins.
- Once aligned, press the CPU down firmly and evenly to seat it properly in the socket.
- Engage the locking mechanism to secure the CPU in place.
Step#5: Apply thermal paste (if necessary)
- If your CPU cooler requires thermal paste, apply a small, pea-sized amount onto the center of the CPU.
- Spread the thermal paste evenly using a clean applicator or the cooler’s thermal pad, following the manufacturer’s instructions.
Step#6: Reinstall the CPU cooler
- Align the CPU cooler’s mounting brackets with the holes or screws around the CPU socket.
- Gently lower the cooler onto the CPU, ensuring that it sits evenly and fully interacts with the CPU.
- Reattach the retention mechanism, whether screws or clips, to secure the CPU cooler in place.
Double-check all connections(including the CPU cooler installation) and close the computer case.
Step#7: Plug in your computer and turn it on
- Access the BIOS or UEFI settings by pressing the designated key during startup (e.g., Del, F2, Esc).
- Verify the new CPU is detected and check the CPU temperature to ensure proper cooling.
- If necessary, update the BIOS or UEFI firmware to ensure compatibility and optimal performance.
Related: How to Fix a Broken Processor
PSU or Power supply
Your power supply unit (PSU) provides power to your PC. If you have a powerful GPU or a high-end CPU, it is crucial to have a power supply that can deliver enough wattage to meet their requirements. It’s best not to compromise on the quality of your power supply, as it also safeguards your components from power surges and can last through multiple PC generations.
PSUs come in three types:
- Non-modular: These power supplies have non-detachable cables.
- Semi-modular: The most common type where all cables, except the ATX and EPS connections, can be detached.
- Fully modular: These power supplies allow all cables to be detached, making customizing and maintaining a clean case interior easier.
Before purchasing a PSU, ensure you’ve successfully determined your computer’s power requirements. We recommend buying a PSU with extra wattage headroom to ensure safety and prepare for future upgrades.
Here is a general breakdown of the normal power consumption of each PC component.
| Component | Power Usage (Watts, W) |
|---|---|
| CPU | 140W |
| GPU | 270W |
| RAM | 5W |
| HDD | 10W |
| SSD | 5W |
| Optical Drive | 15W |
| Motherboard | 80W |
Using a simple PSU wattage calculator, you can determine how strong your PSU needs to be.
Follow these steps to replace or upgrade your PSU successfully:
Step#1: Disconnect the power cables
- Identify all power cables connected to the components, including the motherboard, graphics card, storage drives, and other peripherals.
- Carefully disconnect each power cable from its respective component, ensuring you remember where each cable was connected.
Step#2: Remove the existing PSU
- Locate the screws securing the PSU to the case or mounting bracket.
- Unscrew and remove these screws to release the PSU.
- Gently disconnect any additional cables or connectors attached to the PSU.
Step#3: Install the new PSU
- Place the new PSU in the appropriate position within the case or mounting bracket.
- Align the screw holes of the PSU with those on the case or bracket.
- Securely screw the new PSU in place, ensuring it is stable and properly seated.
Step#4: Connect the power cables
- Refer to your new PSU’s documentation for cable routing and compatibility.
- Connect the necessary power cables to the motherboard, graphics card, storage drives, and other components.
- Ensure that each cable is securely and properly inserted into the corresponding component.
Step#5: Double-check connections and cable management
- Carefully inspect all connections to ensure they are secure and properly aligned.
- Organize the power cables to improve airflow and minimize clutter inside the case.
- Consider using cable ties or other cable management solutions to tidy the cables.
Double-check that all connections are secure and the cables are properly managed.
Step#6: Plug in your computer and turn on the PSU
- Power on your computer and ensure that all components receive power.
- Check that the PSU fan is spinning without unusual noises or smells.
- Monitor the system’s stability and ensure that all parts are functioning correctly.
When to Seek Professional Help
If you lack technical expertise or experience with computer hardware, consulting a professional can prevent damage to your system. Complex upgrades or installations, like motherboard replacements or liquid cooling setups, are best handled by experts due to their advanced technical skills. They can also address compatibility issues that may arise during significant system overhauls. If your computer or components are still under warranty, opting for professional assistance will be your best bet to ensure that work remains within warranty guidelines. Moreover, hiring professionals saves time, especially when time constraints are a factor. Tasks requiring specialized knowledge or equipment, such as data recovery or complex hardware diagnostics, are best entrusted to professionals.
Conclusion: When and How to Upgrade Your Computer
Upgrading your computer can be a cost-effective way to extend its lifespan, depending on the scale of the upgrade and the demands of your tasks. Unlike laptops, desktop PCs are designed to be easily upgraded, so taking advantage of this can save you from buying a new computer. Once you understand the fundamentals of detecting performance bottlenecks and updating the necessary components, you’ll discover that upgrading your PC is a simple procedure that you can repeat. This helps you to keep your computer up to date and adapt to changing needs without having to replace it entirely. You may maximize the value and longevity of your PC by making compartmental updates, saving money in the long term.