LCD monitors are integral to our daily lives, whether for work, entertainment, or communication. However, like any electronic device, a monitor can encounter various issues over time.
Fortunately, many common problems can be resolved without the need for professional intervention as long as there is no significant physical damage. This guide will explore the troubleshooting and repair techniques you can apply at home to address these issues.
Related: Troubleshooting network connection issues
Troubleshooting and Diagnosing the Problem
Let’s take a quick look at a few of the most common monitor faults that could be affecting your monitor.
Power related issues
To troubleshoot a non-displaying monitor, power it on and observe the indicator lights at the monitor’s edges. If you notice any lights illuminating, proceed to the next troubleshooting step. However, if the lights fail to light up, it indicates a potential issue with the power supply or any connected cables leading to the power supply. In most cases, the power supply issue can be attributed to a blown capacitor. While it is possible to attempt a DIY repair, do note that the power supply contains hazardous, high-voltage elements.
So, unless you possess considerable expertise in electronics repair, we recommend seeking assistance from a professional repair service when dealing with your monitor. Loud humming noise, lines across the screen, and multiple images are typical signs of a bad capacitor in your monitor’s power supply. It’s worth mentioning that the power supply unit is among the costlier components within the monitor.
If the issue extends beyond a blown capacitor, the repair cost could be substantial. In such cases, particularly if your monitor is aging, opting for a replacement might be a more prudent choice.
Display related issues
If your monitor shows a black screen despite the power indicator light being on, you can attempt a simple test.
Take a flashlight and shine it directly onto the screen. This test is practical when you suspect an issue with the monitor’s backlight. If you can discern the image on the screen wherever the flashlight illuminates, it indicates a fault with the monitor’s backlighting system.
Related: Why Computer Repair is Best Left to the Experts?
How to Repair Stuck Pixels
Stuck pixels are when most of the screen is functional, but a few pixels remain “stuck” at a single color. Resolving the issue is often a straightforward process.
Follow these steps:
Keep the monitor powered on.
- Start by wrapping a damp, non-abrasive cloth around the tip of a pencil or another blunt and narrow object.
- Rub the affected pixel very gently. Be careful not to apply excessive pressure, which could cause further damage.
- Alternatively, explore online resources for stuck pixel repair software. These programs output rapid color changes to stimulate the stuck pixel into a reset.
- Consider purchasing specialized hardware to connect to your monitor and specifically address dead pixels.
If none of the above methods prove effective, it’ll be time to consider a screen replacement.
Related: How do I fix a black screen on a PC
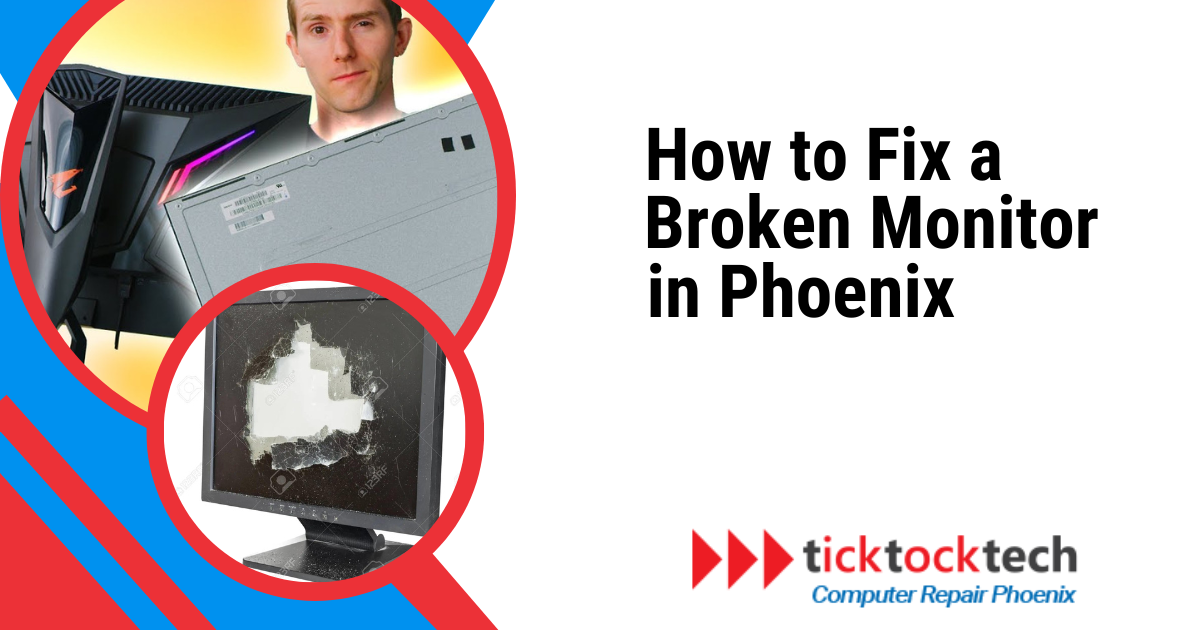
How to Fix Spiderweb Cracks or Black Splotches
When dealing with spiderweb cracks or black splotches on your monitor, it typically indicates physical damage. At this stage, the monitor is often beyond repair, and any attempts to fix it might result in further harm.
However, if the screen is currently unusable and you wish to attempt a repair before considering a replacement, follow these guidelines:
- Gently run a soft cloth or another object over the screen. If you detect any broken glass, it is not advisable to proceed with the repair. In such cases, it is best to replace the monitor entirely.
- Carefully rub the scratch with a clean eraser, applying gentle pressure. Regularly wipe off the eraser to prevent residue buildup.
- Consider purchasing an LCD scratch repair kit specifically designed for this purpose.
Related: How do I know if my laptop needs repair?
How to Replace the Capacitor
It is crucial to prioritize your safety and take proper precautions when handling capacitors, as they can retain a significant charge even after disconnecting the power.
Consider these safety tips to protect yourself and your monitor’s components:
- Assess your skills honestly. If you lack experience in replacing circuit boards or handling electronic equipment, you’d be better served by a professional. This repair may not be suitable for beginners.
- Wear clothing that is free of static and work in a static-free environment.
- Avoid working in excessively dry or wet conditions. An ideal humidity level for the task ranges between 35% and 50%.
- Ground yourself before starting the repair process. You can do this by touching the metal chassis of the monitor while it is turned off but still plugged into a grounded outlet.
- Consider wearing tight rubber gloves for added protection.
If you’re sure you’re up to the task, follow these step by step by step instructions to change your monitor’s capacitor.
Step#1: Disconnect the power
Begin by disconnecting the monitor from its power source. In the case of a laptop or other battery-powered device, remove the battery to minimize the risk of electric shock further. If your laptop has non-removable batteries, refer to an online guide specific to your laptop model for instructions on removing the battery.
Step#2: Record the repair process
Maintain a meticulous record of your progress throughout the repair process. Choose a spacious, flat surface and ensure it is free from other objects. Utilize small containers to organize and store screws and other detachable components. Label each container with either the component’s name that the screw held down or the corresponding step number from this guide. We also recommend capturing photographs of the monitor before disconnecting any connections. This visual reference will assist you in reassembling the monitor accurately once the repair is complete.
Step#3: Remove the case
To do this, locate the screws that secure the back and front frames of the monitor together. You’ll typically find it at each corner of the frame. Unscrew these screws using an appropriate tool. Next, carefully pry apart the frames using a thin and flexible tool like a plastic putty knife. Keep in mind that using a metal object for prying may cause damage or pose a risk of electrical shorting. While a metal tool is relatively safe for this initial step, refrain from using it for subsequent steps to avoid potential issues.
Step#4: Locate the power supply board
The power supply circuit board is typically positioned near the power socket. You may have to remove additional panels from the internals to locate it accurately. Look for a circuit board with several cylindrical capacitors, including a large one. It’s worth mentioning that monitor display capacitors are often situated on the opposite side and become visible only after disconnecting the board. If you are unsure which board corresponds to the power supply, we recommend searching online for an image of your specific monitor model. This visual reference will help you more accurately identify the power supply board.
Step#5: Disconnect the circuit board
Begin by removing all screws and ribbon cables that secure the circuit board in its position. When disconnecting cables, ensure to pull them straight out of the socket. Try as much as possible to avoid pulling a ribbon cable vertically if it is inserted horizontally into a socket, else breakage happens. Certain ribbon cables may feature a small tab that pulls/pushes to facilitate disconnection. Pay attention to these tabs and use them accordingly when disconnecting the cables.
Step#6: Locate and discharge the largest capacitor(s)
With utmost care, lift the circuit board by its edges. Be careful not to touch any metal pins or attached components. On the reverse side of the board, you will find the cylindrical capacitors, each connected to the board through two pins.
To discharge safely discharge the stored electricity in these capacitors, do the following:
- Get a resistor within the range of 1.8–2.2kΩ/5–10 watts.
- Put on rubber gloves as an additional precautionary measure.
- Identify the pins connected to the largest capacitor. Gently touch the two leads of the resistor to these pins. Hold still for several seconds.
Repeat these steps for each of the largest capacitors. You can skip the process for the smaller cylindrical capacitors as they typically don’t pose any serious risk.
Step#7: Identify and access bad capacitors
Carefully Inspect each capacitor for signs of potential issues, such as a domed or bulging top instead of a flat one. Additionally, check for any leaking fluid or crusty residue indicating dried fluid buildup. Take note of the capacitors’ positions in the board, where the positive and negative pins connect. Consider taking a snapshot of the board. It will serve as an invaluable reference during the repair process.
Step#8: Desolder bad capacitors
You’ll need a soldering iron and a desoldering pump or solder wick to do this.
- Plug in the soldering iron and heat to the appropriate temperature.
- Apply a thin layer of fresh solder to the tip (“tinning”) to improve heat transfer and aid in desoldering.
- Identify the component you want to desolder. In this case, the monitor supply capacitor (s)
- Inspect the solder joints and identify the leads/pins that need desoldering.
- If excess solder covers the leads/pins, gently touch the tip of the soldering iron to melt and remove the excess solder, exposing the leads.
Using a desoldering wick/pump
Position the desoldering pump with one hand and hold the soldering iron with the other. Then heat the solder joint by placing the tip of the soldering iron on the joint where the lead and pad meet for a few seconds. While the solder is molten, position the desoldering pump’s nozzle near the joint and press the plunger to create suction. The desoldering pump should suck up the molten solder.
Repeat this process for each lead until they are free.
Using a solder wick (desoldering braid)
Cut a length of solder wick and place it over the solder joint you want to remove. Then apply the heated soldering iron to the solder wick, allowing it to absorb the molten solder. The solder wick should draw in the molten solder through capillary action. Once this is complete, move the solder wick across the joint, using fresh sections of the wick as needed, until the solder is removed.
Repeat this process for each lead until they are free.
Step#9: Get replacement capacitors
You can find capacitors at affordable prices in most electronics supply stores. Consider the following attributes when shopping for replacement capacitors:
- Size — the exact dimensions of the old capacitor precisely.
- Voltage (V, WV, or WVDC) — equal or slightly higher voltage rating than the old capacitor.
- Capacitance (F or µF) — the same capacitance value as the old capacitor.
#Step10: Solder the new capacitors in place
Apply a small amount of fresh solder to the tip of the soldering iron and carefully reflow the solder joint by touching the solder wire to the joint. Allow the solder to flow and create a smooth, shiny joint.
Pay attention to the negative and positive joints. Refer to your snapshot if necessary.
Step#11: Recoupling and testing
Carefully reattach all cables, panels, and components precisely as they were positioned before the repair process. Check if the monitor is working before securing the plastic casing with screws. If, despite your efforts, the monitor still fails to function correctly, consider seeking assistance from a professional repair service or exploring the option of purchasing a replacement monitor.
Related: How to fix your own Computer at Home
How to Replace the Monitor Backlight
If you’ve diagnosed your monitor with a damaged backlight, let’s look at how to fix it. Here’s a step-by-step guideline on how to replace your monitor backlight:
Start by disconnecting the monitor from its power source and opening it up.
Step#1: Locate the backlight
The backlight is composed of glass lights that are typically positioned behind the monitor’s glass display. Keep in mind that locating these lights may require unscrewing additional panels or carefully pulling back flexible covers.
Step#2: Get replacement lights at an electronic store
If you need clarification about the specific types of lights used in your monitor, take a photograph and consult a store employee for assistance. The exact size and your monitor model will also help the store employee guide you effectively in selecting the appropriate lights for your monitor.
Step#3: Replace the old lights with the new
Exercise caution if the backlight in your monitor is a cold cathode fluorescent light (CCFL). CCFLs contain mercury, and their disposal may be subject to specific regulations per local laws.
Step#4: Try additional repairs
If the monitor remains unlit, the issue may lie with the circuit board responsible for powering the backlight. This component, known as the “inverter” board, is typically situated near the backlight and contains individual “caps” for each strip of lights. To resolve this problem, you can order a replacement inverter board and cautiously install it. For optimal results and minimizing risks, consult a guide tailored to your monitor model. Before attempting this repair, confirm whether the monitor still produces a visible image when you shine a light on the screen.
If the display has completely stopped functioning, you probably didn’t re-establish connections correctly after the light replacement. Thoroughly inspect and ensure that all connections are secure and well-fitted.
All Things Considered
LCD monitors can experience various issues, but the diagnostics we’ve provided cover the most common problems. We recommend trying the suggested fixes corresponding to your specific problem first. That said, if your monitor fault is not described above or the attempted fix does not resolve the problem, contact a computer technician.