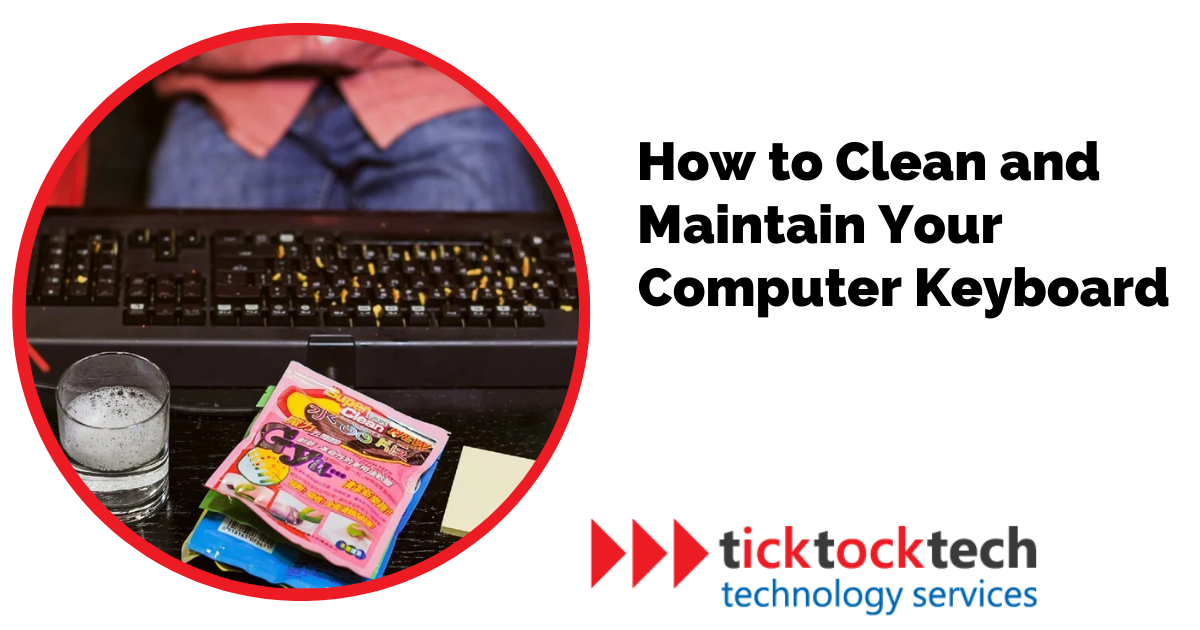
We often overlook that our computers, especially keyboards, can attract dirt and stain. It’s nearly impossible to remember to wash our hands every time we sit down to use our computers, and more often than not, we forget. Consequently, our keyboards become collectors for whatever substances our fingers have come into contact with. It is crucial to understand the proper methods for cleaning and maintaining keyboards, regardless of whether you own a PC, a laptop, or even a gaming PC keyboard. This article explains the essential techniques and tips to ensure your keyboard remains fully functional.
Understanding the Keyboard
To properly clean and maintain your computer keyboard, it’s crucial to understand its components and how dirt and debris can accumulate, leading to several issues.

Firstly, let’s explore the different parts of a keyboard. It consists of keys, including letters, numbers, function keys, and special keys like the space bar and the Enter key. Beneath the keys are the switches or membranes that register key presses and transmit the signal to the computer. The keyboard surfaces between and around the keys, where dust and grime tend to settle.
Over time, keyboards can accumulate dirt, dust, and debris, and can affect their performance. The common culprits are food crumbs, pet hair, and general dust particles. When these substances find their way into the keyboard, they can interfere with key movement, cause sticky keys, or even prevent keys from working altogether. Understanding how the keyboard gets dirty is essential in taking preventive measures and knowing how to clean it effectively.
Related: How to repair a broken hinge in your laptop
Preparing the Keyboard for Cleaning
Before diving into the cleaning process, there are some steps that should be taken. By following these easy preparations, you’ll be ready to give your keyboard the care it deserves.
Firstly, shut down your computer and disconnect the keyboard. This will prevent any accidental keystrokes and potential damage while you clean. Make sure to turn off any wireless keyboards as well.
Next, gather all the necessary cleaning tools and materials. You’ll need a can of compressed air or a soft brush to remove loose debris. A microfiber or lint-free cloth dampened with a mild cleaning solution will come in handy for wiping the keys and surfaces. Remember to use a cleaning solution that is safe for your keyboard. It’s vital to take some precautions to prevent any damage to your keyboard. Avoid excessive force or harsh cleaning agents, as they can harm the keys or the keyboard’s internal components. Additionally, be mindful of any liquid spills and keep them away from your keyboard.
How to Clean the Keyboard
External Cleaning
To keep your keyboard clean and functioning optimally, you can follow these simple steps to clean its external surfaces effectively.
Step 1: Removing Loose Debris
Firstly, turn off your computer and disconnect the keyboard. Then, use compressed air or a soft brush to remove loose debris like crumbs or dust from the keyboard surface. This ensures that larger particles are dislodged from the keyboard. Next, turn the keyboard upside down and give it a gentle shake to help dislodge any remaining debris. This will make it easier to clean the keyboard thoroughly.
Step 2: Wiping the Keys and Surfaces
Take a microfiber or lint-free cloth and dampen it slightly with a mild cleaning solution. Wipe the tops of the keys and the spaces between them using gentle, sweeping motions. Pay special attention to areas where dirt tends to accumulate, such as the spaces between the larger keys or the corners of the keyboard. Use a soft brush or cotton swab to reach those tight spots and remove stubborn dirt. Remember to be cautious while cleaning delicate keys, like the space bar or function keys. Apply a gentle amount of pressure and avoid using excessive moisture. (Note: If your keyboard has removable keycaps, you can take them off for a more thorough cleaning.
Internal Cleaning
Step 1: Remove the Keycaps
If your keyboard has removable keycaps, start by carefully removing them. This will allow you to access the underlying components and clean them more thoroughly. When removing the keycaps, ensure you consult the manufacturer’s instructions or seek guidance to avoid causing any damage.
Step 2: Clean the Circuit Boards and Contacts
Use a cotton swab or cloth dampened with isopropyl alcohol to gently wipe the circuit boards and contacts. This will help remove any grime or residue that may be affecting the keyboard’s performance.
Step 3: Reattach the Keycaps
Once the cleaning is complete, it’s time to reattach the keycaps. Align each keycap properly and press down until you hear a satisfying click. Make sure all components are securely in place.
Related: Common Problems of a Laptop
Additional Keyboard Maintenance Tips
Keeping your keyboard clean and functional doesn’t have to be a hassle. Here are some simple and practical tips to maintain your keyboard’s cleanliness effortlessly:
- Clean your keyboard regularly. The more often you clean your keyboard, the less dirt and debris will build up. A good rule of thumb is to clean your keyboard once a week.
- Use a mild cleaning solution. Avoid using harsh chemicals, as they can damage your keyboard. A mild cleaning solution, such as a mixture of water and vinegar or water and rubbing alcohol, is sufficient.
- Be gentle when cleaning your keyboard. Applying too much pressure can damage the keys or the keyboard itself.
- If your keyboard has removable keycaps, you can take them off for a more thorough cleaning. This will allow you to access the underlying components and clean them more effectively.
- Dry your keyboard completely after cleaning. Moisture can damage your keyboard, so it’s vital to dry it completely after cleaning.
- Avoid eating or drinking near your keyboard. This will help prevent food and drink from getting into your keyboard and causing it to become dirty. If you spill something on your keyboard, immediately wipe it with a damp cloth. Do not use a vacuum cleaner, as this can force the liquid further into the keyboard.
FAQs on How to Clean and Maintain Your Computer Keyboard
To clean a keyboard yourself, turn off the computer, disconnect the keyboard, then use compressed air or a soft brush to remove debris from the keys and surfaces. Wipe the keys with a cloth dampened with a mild cleaning solution, and reassemble the keyboard once it’s dry.
Keyboard care and maintenance refer to the regular cleaning and upkeep of a computer keyboard to ensure proper functioning and longevity. It involves removing dirt, dust, and debris from the keyboard’s surface and internal components to maintain a clean and reliable typing experience.
To maintain a keyboard and mouse, regularly clean them by removing debris using compressed air or a soft brush, and wipe their surfaces with a lint-free cloth dampened with a mild cleaning solution. Avoid eating or drinking near them to prevent spills and potential damage.
Conclusion: How to Clean and Maintain Your Computer Keyboard
Regular cleaning not only removes dirt and debris but also prevents potential issues like sticky keys and unresponsive buttons. With a few minutes of your time and the right tools, you can keep your keyboard looking and functioning like new. Remember to turn off your computer and disconnect the keyboard before cleaning. Use compressed air or a soft brush to remove loose debris, and wipe the keys and surfaces with a mild cleaning solution. If necessary, remove keycaps for a thorough cleaning and use isopropyl alcohol for internal components. Finally, reassemble the keyboard carefully and enjoy a fresh typing experience.
In addition to cleaning, implement good habits near the keyboard. By incorporating these maintenance tips into your routine, you can prevent future issues and prolong the lifespan of your keyboard. If you encounter problems or difficulties when cleaning your keyboard, it’s recommended to seek professional help from a computer technician.