Installing Windows from a USB drive is straightforward. This guide will walk you through the steps to easily install Windows on your computer.
Why Install Windows from USB?
Before we jump into the how-to, let’s quickly talk about why installing Windows from a USB drive is such a smart move. First off, it’s speedy. No more waiting around for slow CD drives to read your installation disc. USB drives are also portable, allowing you to carry your Windows installation in your pocket. Additionally, many modern laptops and PCs no longer include CD/DVD drives, making USB the only option available.
What you need to Install Windows from USB
To successfully install Windows from a USB drive, you need a few key components to ensure you have the right setup. Here are what you need to get started:
1. Windows Installation Media
First and foremost, you’ll need the Windows installation media. This can come in the form of a downloaded .ISO file of the Windows version you want to install, or a physical DVD if you have an older version of Windows.
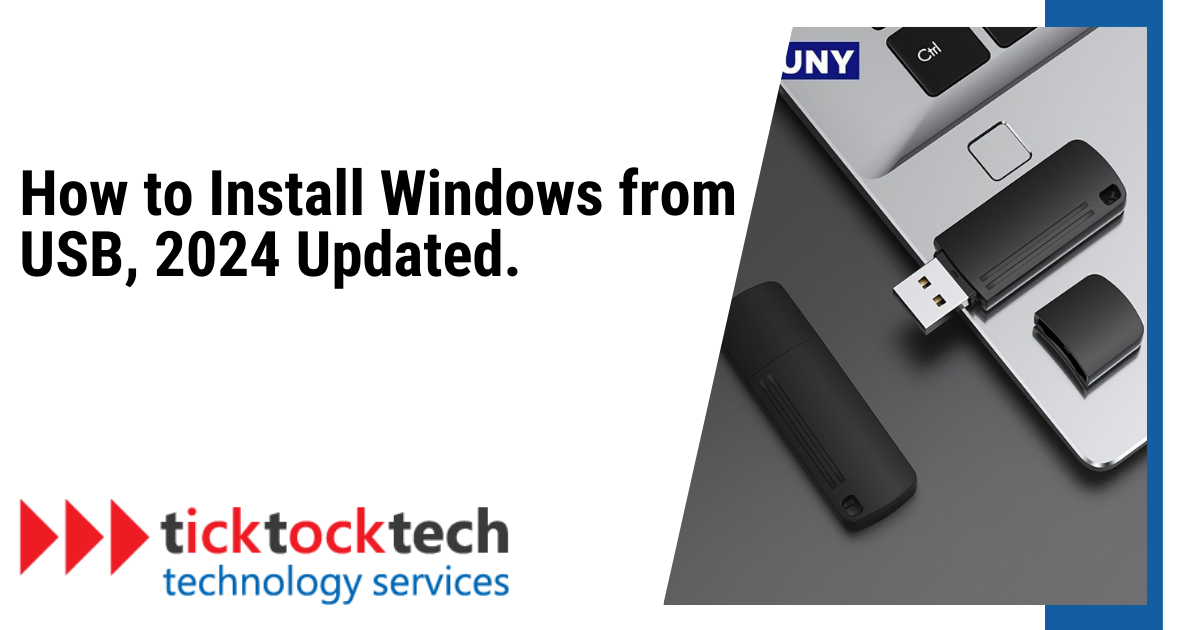
2. USB Flash Drive
Ensure you have a reliable one with at least 5GB of free storage space, although 8GB or more is recommended. Keep in mind that the preparation process will completely erase all data on the drive, so make sure there’s nothing important stored on it before proceeding.
3. Technician PC
The technician PC is a Windows-based computer that you’ll use to format your flash drive and transfer the Windows installation files onto it, turning it into bootable installation media.
4. Target Device
The target device is the computer or device on which you intend to install Windows. It could be a desktop, laptop, or any compatible device that supports Windows.
Before you start the installation process, ensure the target device meets the minimum system requirements for your Windows version. This includes processor speed, RAM, disk space, and graphics capabilities. Also, check the device’s BIOS or UEFI settings to ensure it can boot from a USB drive.
How to Install Windows from USB: Step-by-step Guide
1. Format the Drive and Set the Primary Partition as Active
- Connect the Flash Drive: Plug your flash drive into your technician PC.
- Open Disk Management: Right-click on the Start button and select “Disk Management.”
- Format the Partition: Find your flash drive listed in Disk Management, right-click on its partition, and select “Format.” Choose the FAT32 file system for compatibility with both BIOS-based and UEFI-based PCs.
Note: FAT32 limits file sizes to 4GB. If your Windows image file (install.wim) exceeds this size, refer to the section below on handling larger images. - Set the Partition as Active: Right-click the same partition and select “Mark Partition as Active.” If this option is grayed out, you’ll need to use the command line tool “diskpart” to select your partition and mark it active manually.
2. Copy Windows Setup to the Flash Drive
- Use File Explorer: Navigate to the mounted ISO or DVD location. Copy all contents (Ctrl+A to select all, Ctrl+C to copy) and paste (Ctrl+V) to your formatted flash drive.
- Optional: Add an unattend file to automate the installation process.
3. Install Windows on the New Device
- Connect and Boot: Plug the prepared USB drive into your target device. Power on the device and immediately press the key to open the boot-device selection menu (commonly Esc, F10, F12). Choose the option to boot from the USB drive.
- Follow Setup Instructions: The Windows Setup interface will guide you through the installation process. Follow the on-screen instructions to select your preferences and install Windows on your device.
Tip: For devices that don’t easily boot from USB, you may need to change the boot order in the BIOS/UEFI settings or consult the device’s manual for specific boot instructions. - Remove the USB Drive: After installation, you can safely remove the USB drive from your device.
Handling Larger Windows Images (Over 4GB)
Due to FAT32’s 4GB file size limit, you might encounter issues with large Windows image files. Here’s how to work around that limitation:
1. Prepare the USB Drive
Copy all files from the Windows ISO to the USB drive except the ‘install.wim’ file located in the ‘sources’ folder. Use the following robocopy command, where ‘D:‘ is the ISO mount point and ‘E:‘ is your USB drive:
robocopy D: E: /s /max:38000000002. Split the Windows Image File
Use the Deployment Image Servicing and Management (DISM) tool to split ‘install.wim’ into smaller chunks that fit within the FAT32 file size limit:
Dism /Split-Image /ImageFile:D:\sources\install.wim /SWMFile:E:\sources\install.swm /FileSize:3800
Note: Ensure the split files are named ‘install.swm’, ‘install2.swm’, etc. Windows Setup will automatically recognize and use these files for installation.
Conclusion
Installing Windows from a USB drive is an efficient way to set up your computer with a fresh operating system. With the right preparation and following the step-by-step guide in this article, you can easily install Windows on your PC. Remember to back up your files before starting, and ensure your device meets the Windows version’s system requirements.