
Chromebooks are great for productivity, but their small screens can be a challenge. Imagine you’re trying to work on two apps simultaneously, or you want to watch a video while you browse the web. Sure, you could open two windows and switch between them, but that can be stressful. Discovering the full potential of your Chromebook’s small screen can be a game-changer when you learn how to lay out windows side-by-side. In this article, I’ll show you how to split the screen on your Chromebook using different methods.
Why you may want to Use the Split Screen on Chromebook
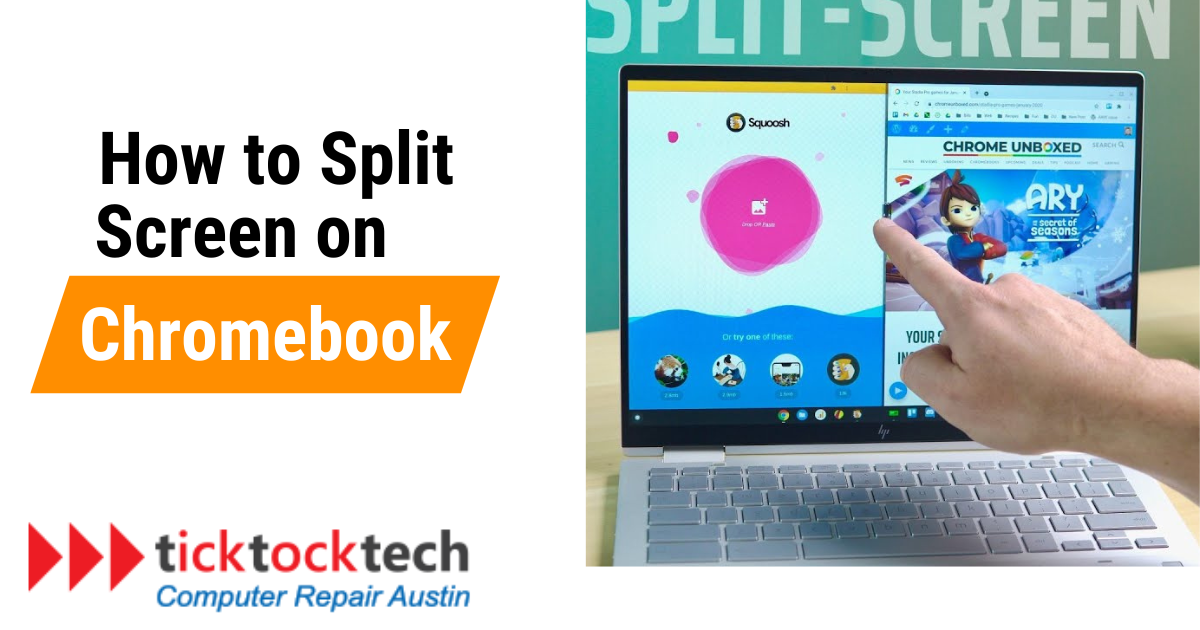
The split screen feature on your Chromebook provides the ability to view and interact with different applications or web pages simultaneously.
Imagine you’re presenting a project. With the split screen, you can open your project source on one side of the display and present it on the other. This way, you can refer to the information without repeatedly switching between tabs and maintain a smooth workflow. In addition, split-screen proves to be a lifesaver during virtual meetings or video conferences. You can have the video call interface open on one side while referring to presentation slides, files, or related documents on the other. This way, you can actively engage in discussions and stay well-informed with visual aids. As a student, you can also benefit from the split screen feature. You can attend virtual lectures on one side of the screen while taking digital notes on the other. This ensures an engaging learning experience for active participation and retention of knowledge.
Whether you’re researching and writing, attending virtual meetings, or collaborating with others, the split-screen functionality can significantly streamline your workflow and optimize your Chromebook experience.
Related: How to Speed Up Your Computer for Free
3 ways to Split Screen on Chromebook
1. Keyboard Shortcuts
- To enable split-screen mode, ensure you are on an active window. Press “Shift + [” on your keyboard to snap the current window to the left side of the screen. The window will automatically resize to occupy the left half of the display.
- Click on the desired window that you want to place on the right side of the split-screen view. Once the window is active, press “Shift + ]” on your keyboard. The window will snap to the right side of the screen, creating a split-screen setup.
- In split-screen mode, position the mouse cursor at the center where the two windows meet. A slider will appear at the dividing line. Click and hold the slider with your mouse, then drag it left or right to resize the windows according to your preference. This lets you allocate more space to one application or adjust the balance between the two windows.
2. Drag and Drop
- Launch a new Chrome tab or open the application you want to use in the split-screen view.
- Position your mouse cursor at the top of the window where the tab sits. This area is known as the menu bar.
- Click and hold the mouse button while the cursor is on the menu bar. Now, drag the entire window to the side of the screen where you want it to be placed in the split-screen view (left or right).
- As you drag the window to the side, you’ll see a preview of where the window will snap once you release the mouse button. This helps you position the window accurately.
- When you have the window in the desired position, let go of the mouse button. The window will automatically snap into place, creating the split-screen setup.
3. Use the Maximize Button
- Start by opening an application or a Chrome tab that you want to use in the split-screen view.
- Locate the “Maximize” button on the title bar of the active window. It looks like a square icon. Click and hold the “Maximize” button with your mouse. As you do this, an arrow indicator will appear on both the left and right sides of the “Maximize” button.
- While holding the “Maximize” button, drag the window to the left side of the screen. As you drag, you’ll notice a visual indicator showing where the window will snap into place once released. Release the mouse button when the window is in the desired position, and it will snap to the left side of the screen.
- After snapping the first window to the left side, the screen will now be divided into two halves. Now, repeat the same process with another application or Chrome tab. Click and hold the “Maximize” button of the second window, then drag it to the right side of the screen.
- Release the mouse button when the second window is in the desired position on the right side.
Troubleshooting and Customizing Split Screen on Chromebook
Split screen functionality on Chromebook is generally straightforward. However, if you encounter any issues, here are some troubleshooting tips and customization options:
Troubleshooting Split Screen
- Unresponsive Maximize Button: If the maximize button doesn’t work for split-screen, restart your Chromebook to resolve minor glitches.
- Dragging and Dropping Not Working: Ensure you’re correctly using drag-and-drop. Click and hold the maximize button, then drag the window to the left or right side until you see the preview.
- Incompatible Applications: Some apps may not support split-screen. Use compatible applications to avoid issues.
Customizing Split Screen
- Adjust Window Size: Resize split-screen windows by dragging the divider line between them for preferred proportions.
- Switching Application Positions: Swap split-screen window positions easily by dragging the active window’s title bar to the other side.
- Custom Keyboard Shortcuts: Personalize split-screen shortcuts in Chromebook settings for quicker access.
- Using External Monitors: Extend the split screen across external monitors for more multitasking space.
- Advanced Split Screen: Explore Chrome Web Store for extensions offering enhanced window positioning and size control.
Conclusion: How to Split Screen on Chromebook
Splitting the screen on your Chromebook is a user-friendly process for multitasking. Whether you prefer using keyboard shortcuts, drag and drop, or the maximize button, Chromebook offers different methods to enable split-screen mode. By following the steps outlined in this article, you can work with multiple applications or web pages simultaneously. If you need further assistance with the split screen on your Chromebook or any other technical issue, please do not hesitate to contact TickTockTech. We are always happy to help.