When you have to save something for later, especially from a website, or a picture app, you screenshot. This is one of the best means to “save for later” on a website, both for words and pictures. The ability to screenshot is one of the best parts of a mobile phone and computer after the copy-and-paste features. The fun fact is that it only gets better on some devices. The iPhone iOS 15 and MacOS Monterey Upward enable users to copy text from pictures, which includes screenshots. Meaning when you screenshot on these devices, you can simply highlight the texts, copy them and paste them. However, the window laptops like Hp have their own specialty, and screenshot formats, let’s dive into how you can capture screen on your Hp laptops in 2023 with your keyboards.
Screenshot on Hp Laptops in 5 steps
- On your keyboard, look for the Print Screen (PrtScn) key. On a keyboard, it is typically found in the upper right corner, above the number keypad.
- To capture the entire screen, press the PrtScn key once. Simply click the window to bring it to the fore of your screen, then simultaneously press the Alt and PrtScn keys to only capture that window.
- Open Paint or Microsoft Word or whatever program you wish to use to examine and edit the screenshot.
- To add the screenshot to the program, either right-click and choose Paste or use Ctrl + V on your keyboard.
- By choosing Save from the File menu, you can save the screenshot. To make it simple to locate the snapshot later, choose a location and label it.
Related: How to do factory reset on Hp Laptops
Screenshot techniques on Window Laptops
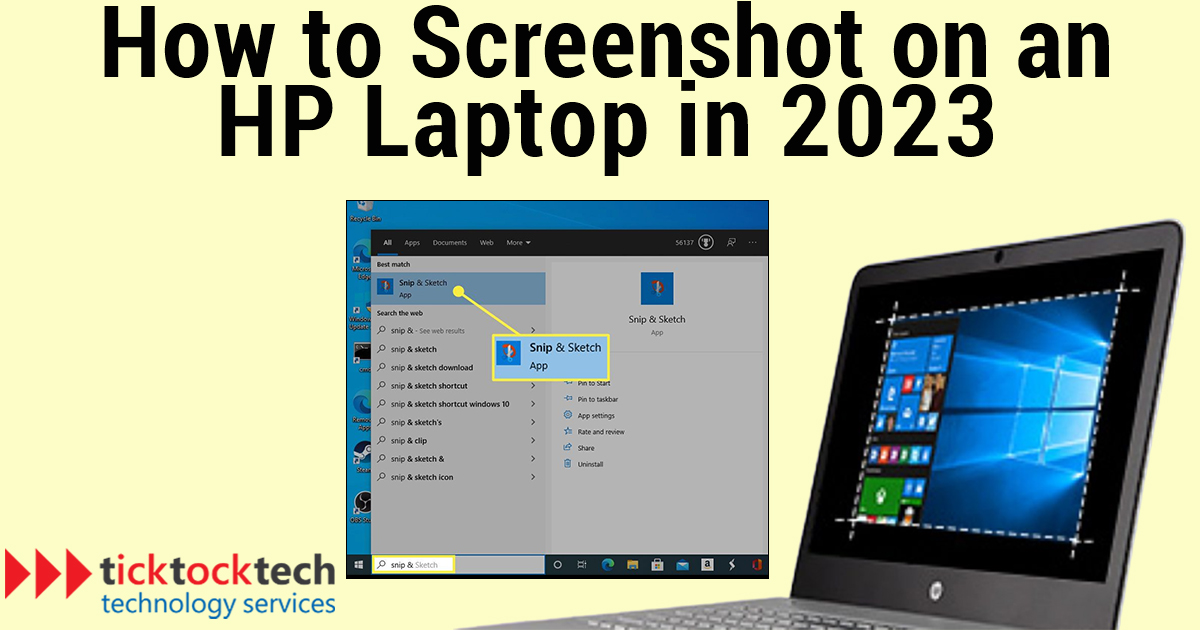
Snipping Tool
This built-in feature of Windows laptops lets you take screenshots of particular portions of your screen. Simply open it by searching for “Snipping Tool” in the Start menu, choosing the kind of snip you wish to take, and start using it.
See also: Dell Vs HP: Which is better?
Technique for taking a screenshot of a specific window
Press “Alt” and “Print Screen” at the same time to only take a screenshot of the active window. This will record the window, which you may later paste into a document or an image editor.
Taking screenshots using Third-Party Tool
You can take screenshots and annotate them using a variety of third-party applications that are readily available. Popular ones like Greenshot, Lightshot, and Snagit can be installed. They will not only snap screenshots but also provide various editing tools.
Using the Windows 10 shortcut key
With the Windows + Shift + S keyboard shortcut, you can screenshot a portion of the screen starting with Windows 10 and up. You can use the selection tool that appears to choose the portion of the screen you wish to capture by pressing here.
See Also: 8 Hp laptops for 2023
Screenshot on Macbook laptops in 5 steps
- To capture the entire screen, use Command + Shift + 3. Press Command + Shift + 4 and then use your mouse to drag the cursor over the region you want to capture if you only want to capture that area.
- Your PC will receive a PNG file containing the screenshot.
- Use the Preview application on your Mac to view and modify the screenshot.
- Choose the screenshot file from your desktop by choosing File > Open in Preview.
- By selecting File > Save or File > Save As, you can make any necessary edits, change file type, or display edits to the screenshot before saving it.
Related: M2 Macbook Air and Pro Review 2023