Adding a picture to an email account on a MacBook is a quick and easy way to make your communications more engaging and visually appealing. Whether you’re sending a quick message, a birthday card, or a thank-you note, incorporating an image can make your message stand out.
In this blog post, we will take you through the process of adding a picture to your email account on a MacBook. By the end, you will understand how to personalize your email account and make it stand out. Let’s dive in and discover how you can add a picture to your email account on your MacBook and elevate your online presence to new heights.
Related: How to Split Screen or Split View on MacBook
Why you should Add a Picture to your Email Account on a MacBook
People personalize their email accounts for different reasons. Adding a picture to your email account acts as a visual identifier that helps people remember and recognize you easily. This recognition can be particularly beneficial in professional settings. If you use email for business purposes, such as job applications or client communication, a picture adds a touch of professionalism to your messages. It showcases your commitment to establishing a strong online presence and reinforces your personal brand.
Additionally, adding a picture to your email account builds trust and connection. It humanizes your interactions by providing a face to associate with your name. This personal touch establishes a sense of authenticity and makes recipients feel more connected to you. Trust and connection are vital elements in effective communication, and a picture can significantly contribute to their development.
Furthermore, studies have shown that emails with sender images have higher response rates. When people can visually connect with the sender, they tend to be more interested in the message. In a crowded inbox, an image can help your emails stand out. As recipients skim through their messages, a visual identifier can catch their eye and make your email more noticeable.
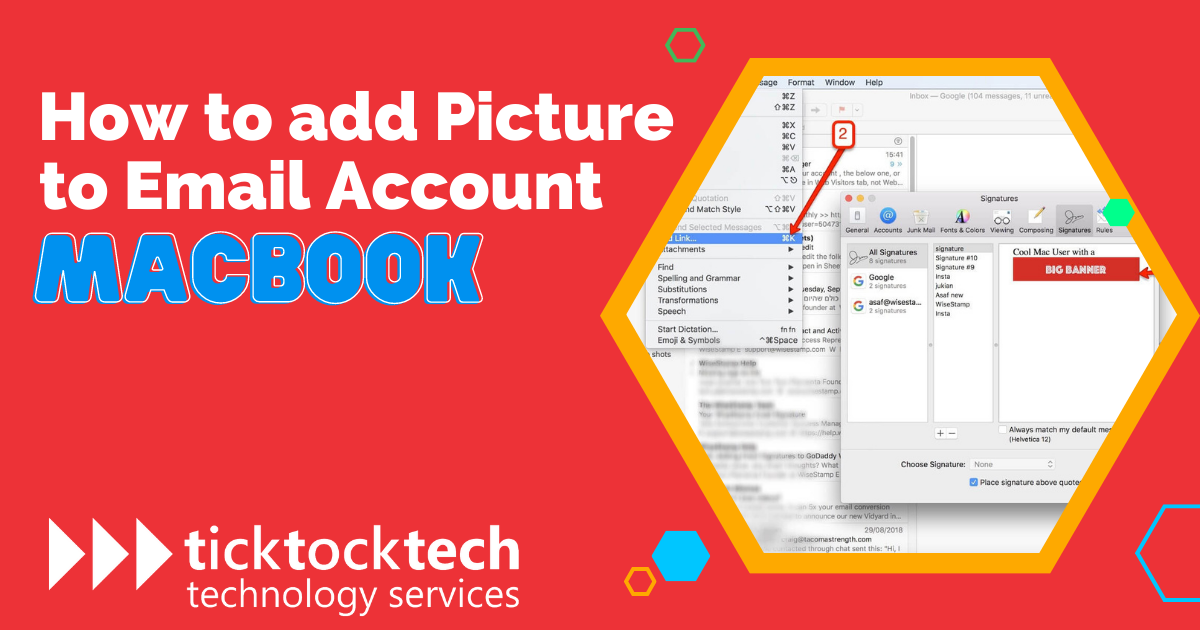
Step-by-step Guide on How to Add a Picture to an Email Account on a MacBook
To add a picture to your email account on a MacBook, you’ll need to access the account settings within the Mail app. By accessing the email account settings within the Mail app on your MacBook, you can easily add a picture to your email account and personalize it according to your preferences. Here’s a comprehensive guide on how to do it:
Open the Mail app
Locate the Mail application in your Applications folder or click on the Mail icon in your dock to launch the app. This will open the Mail interface, displaying your inbox and other email folders.
Access preferences or settings
In the menu bar at the top of the screen, click on “Mail” and then select “Preferences” from the drop-down menu. Alternatively, you can press the Command and comma (,) keys together as a keyboard shortcut to directly access the preferences window. This will open the Mail preferences window, where you can customize various settings related to your email accounts.
Navigate to the account settings
In the preferences window, you’ll see a list of your email accounts on the left-hand side. Select the specific email account for which you want to add a picture. The account settings specific to that particular email address will be presented in the right-hand pane of the preferences window.
Find the profile or avatar settings
Within the account settings, look for a tab, section, or button that pertains to your profile or avatar. This section allows you to customize the picture associated with your email account. The specific location and labeling may vary depending on the email client or version of the Mail app you’re using.
Edit the profile or avatar
Once you’ve located the profile or avatar settings, you can make changes to the picture associated with your email account. Typically, you’ll be able to click on the existing picture to replace it or find an option to upload a new picture from your MacBook’s storage.
Upload a picture
If you’re adding a new picture, click on the option to upload or choose a picture. This action will open a file browser window, allowing you to navigate to the location on your MacBook where the picture is saved. Select the desired picture file and click “Open” or a similar button to upload it as your email account picture.
Adjust the picture settings (if available)
Depending on the email client and settings, you may have additional options to adjust the position, size, or cropping of the picture. Explore the provided tools or settings to make any necessary adjustments to ensure the picture appears as desired.
Save and apply changes
After you’re satisfied with the picture and any additional settings you’ve made, click on the “Save” or “Apply” button within the account settings window. This will save the changes you’ve made to your email account profile or avatar.
Frequently Asked Questions on How to Add a Picture to an Email Account on a MacBook
Adding a picture personalizes your email account, enhances professionalism, and increases the chances of receiving a response.
Yes, you can add a picture to each email account individually by accessing their respective account settings.
To access the account settings, click on “Mail” in the menu bar, select “Preferences,” and navigate to the specific email account you want to customize.
Yes, you can use various image file formats, such as JPEG, PNG, or GIF, as long as the file meets the specified requirements and size limits.
Conclusion: How to Add a Picture to an Email Account on a MacBook
Adding a picture to your email account on a MacBook is a simple way to strengthen your online presence and enhance your connection with recipients. By following the step-by-step guide provided, you can easily customize your email account settings within the Mail app. Remember, an image makes your emails more noticeable, increases response rates, and leaves a lasting impression.