WiFi panorama cameras have become increasingly popular due to their ability to capture wide-angle photos and videos. However, to take full advantage of their capabilities, it’s crucial to connect them to a WiFi network.
In this article, we will provide a step-by-step guide on how to connect your WiFi panorama camera for seamless connectivity and optimal performance.
How to Connect Your WiFi Panorama Camera to Your Phone
Here’s a step-by-step guide on how to connect your WiFi panorama camera to your phone.
1. Learn the Basics of a WiFi Panorama Camera
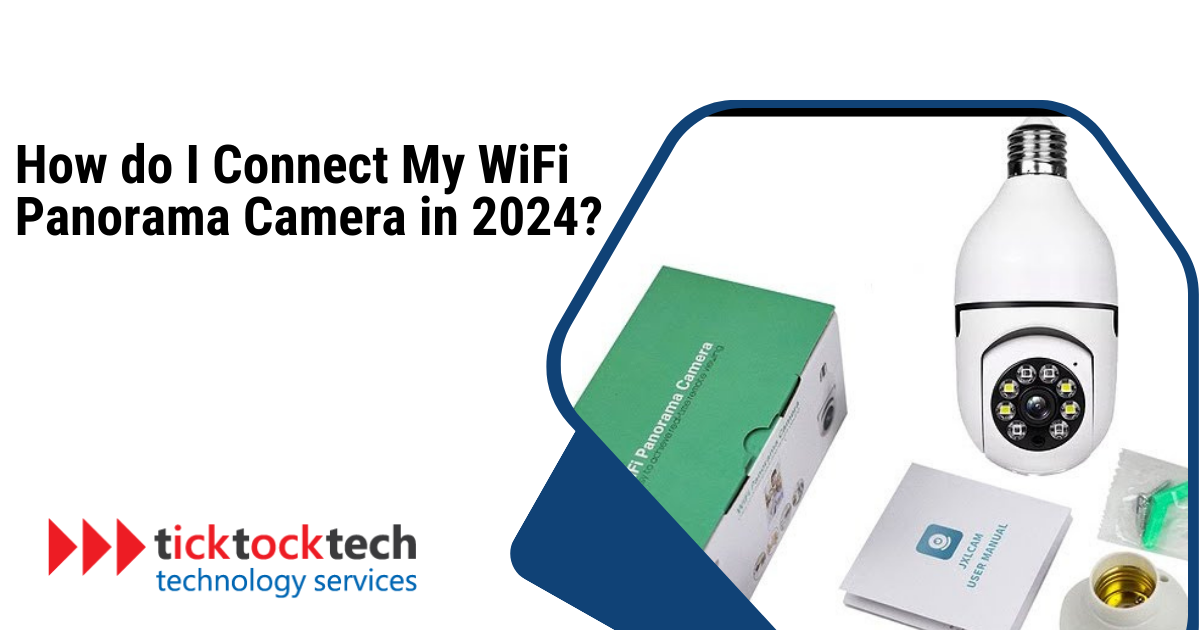
To begin, let’s familiarize ourselves with the fundamentals of a WiFi panorama camera. These cameras can capture a complete 360-degree panoramic view with built-in WiFi functionality. Equipped with multiple lenses, they eliminate the need for manually stitching together separate images or videos. The WiFi feature allows wireless connectivity between the camera and other devices.
2. Install the Manufacturer’s App
The next step in connecting your WiFi panorama camera to your phone is to download the manufacturer’s dedicated app. Visit your app store, either Apple App Store or Google Play Store, and search for an app developed for panorama camera models. After locating the app, tap the download button for installation.
Related: Best WiFi Panorama Camera Apps You Must Have
3. Activate the WiFi Panorama Camera
After successfully downloading the app, it’s time to activate your WiFi panorama camera. Power on the camera and access its settings menu. Look for the WiFi option and enable it. Remember the exact steps may vary depending on your camera model, so refer to the camera’s user manual if necessary. Once the WiFi feature is activated, the camera will start broadcasting its own wireless network.
4. Connect Your Phone to the Camera’s WiFi Network
Now it’s time to connect your phone to the camera’s WiFi network. Open your phone’s settings and navigate to the WiFi section. You should see a list of available networks, including your camera’s WiFi network. Locate and tap on the network corresponding to your camera. Note that some camera models require passwords to establish a connection. You can find the password in the camera’s user manual or on a sticker attached to the camera itself.
5. Launch the Manufacturer’s App and Pairing the Devices
Once you have successfully connected to the camera’s WiFi network, launch the manufacturer’s app that you downloaded. The app will automatically detect the presence of the camera on the network. You may be prompted to enter a unique identification number or scan a QR code to complete the pairing process between your camera and phone. Once the pairing is complete, you will see a live view of what the camera is capturing directly on your phone’s screen.
6. Explore the App’s Features
With your WiFi panorama camera successfully connected to your phone, it’s time to explore the various features offered by the manufacturer’s app. Typically, the app provides options to control the camera’s settings, including resolution, exposure, shooting modes, and more. You can also use the app to remotely trigger the camera’s shutter, whether for capturing photos or recording videos. Additionally, some apps offer editing tools that allow you to enhance your images and videos directly on your phone.
7. Share Your Panoramic Files
After capturing breathtaking panoramic images and videos, you’ll likely want to share them with others. Most manufacturer’s apps provide seamless sharing options. Whether you want to showcase your creations on social media platforms or share them with friends and family, the app will assist you in effortlessly sharing your panoramic content.
Tips for Capturing Stunning Panoramic Photos and Videos with Your WiFi Camera

Now that you know how to connect your WiFi panorama to your phone, let’s explore the best tips to help you capture breathtaking panoramic shots. These tips are simple to understand and will enhance your photography skills.
1. Stitching Multiple Panoramas
Take your panoramic photography to the next level by stitching multiple panoramas together. Shoot a series of overlapping panoramas using your WiFi camera and use an app like Auto Stitch (for iPhone) or PanoStitch (for Android) to merge them into one massive panoramic image. This technique allows you to capture a wider field of view and create a truly immersive experience.
2. Camera Toss Technique
For a unique and dynamic effect, experiment with the camera toss technique. This technique involves throwing or rapidly sweeping your camera while capturing a panorama to create a trail-like effect. It adds a sense of motion to your photos.
3. Vertical Panoramas
Don’t limit yourself to horizontal panoramas; try shooting vertical panoramas for a fresh perspective. Use a 360 panorama app with your WiFi camera to capture tall buildings, towering trees, or Ferris wheels in a single frame.
4. Fun with Cloning
Get creative with your panoramas by incorporating cloning techniques. With the flexibility of WiFi cameras, you can guide the composition of each part of the panorama. Experiment by having a friend (or even your pet) appear multiple times in different sections of the scene. Capture them in one part of the frame, have them move to another, and repeat the process until the panorama is complete. This adds an element of surprise and intrigue to your photos.
5. Creating “Tiny Planets”
Transform your panoramas into captivating “tiny planets” – miniature spherical 3D photos. There are two ways to achieve this effect. First, use a 360 panorama app with your WiFi camera to capture a panorama, then use photo editing software like Photoshop to warp it into a tiny planet. Alternatively, you can download a Tiny Planet app that automatically converts your panorama into a planet-like image directly on your phone. This fun and whimsical technique will give your panoramas a unique twist.
Related: 8 Best Video Editing Software in 2024
Frequently Asked Questions
To connect your WiFi camera to your phone, follow these steps:
– Download the manufacturer’s dedicated app for your camera model from the app store.
– Activate the WiFi feature on your camera.
– Open your phone’s settings and connect to the camera’s WiFi network.
– Launch the manufacturer’s app and follow the instructions to pair your camera and phone.
– Once paired, you can control and view the camera’s output on your phone.
No, you’ll need to use the manufacturer’s app specifically designed for your WiFi panorama camera model. This app will provide the necessary features and functionality to control the camera and view its output.
Conclusion: Connecting Your WiFi Panorama Camera in 2024
Connecting your WiFi panorama camera to your phone is a straightforward process that unlocks several creative possibilities. Follow the steps above to capture and share amazing 360° photos and videos. Remember to experiment with different techniques to take your photography to the next level.